I am in! Thanks

4
25
zumlin
@lemmy.world
zumlin 5 points 3 years ago
I use two pairs of vice grip pliers, one on the head and one on the bezel, with some leather to protect the finish. Heating the bezel up by dipping it in some freshly boiled water should make it easier.
Using this method I have removed many bezels (TS10/SP10 Pro/FW1A Pro) uneventfully. Removing the tail is another story though, because the leather just keeps slipping on the smooth parts of the tube/tail.
zumlin 4 points 3 years ago
From reading the Yinding thread over at BLF, there seems to be quite a large variation in tint measurements, both positive and negative duv. Someone measured a duv of -0.0067, so I guess I won the tint lottery.
zumlin 4 points 3 years ago
Looks good, I found that pink gives a little bit of fluorescence vibe like UV when you shine it on colourful objects.
And it looks like everybody's photos are in the wrong orientation. About half the photos in my last post (my first Lemmy post) were anyway.
zumlin 3 points 3 years ago
I think it is a good choice, even if you just use the crappy reflector from the FW1A Pro. I played around with that reflector very briefly and just raising that reflector a little bit will tighten up the beam from the Yinding.
I just need to have aux though, so I won't be using a reflector.
zumlin 3 points 3 years ago
I love them, but with the availability of the T1616 adapter, I feel like I need to push them all to the limit and have 3 colours for each light, even if the colours are the same lol.
zumlin 3 points 3 years ago
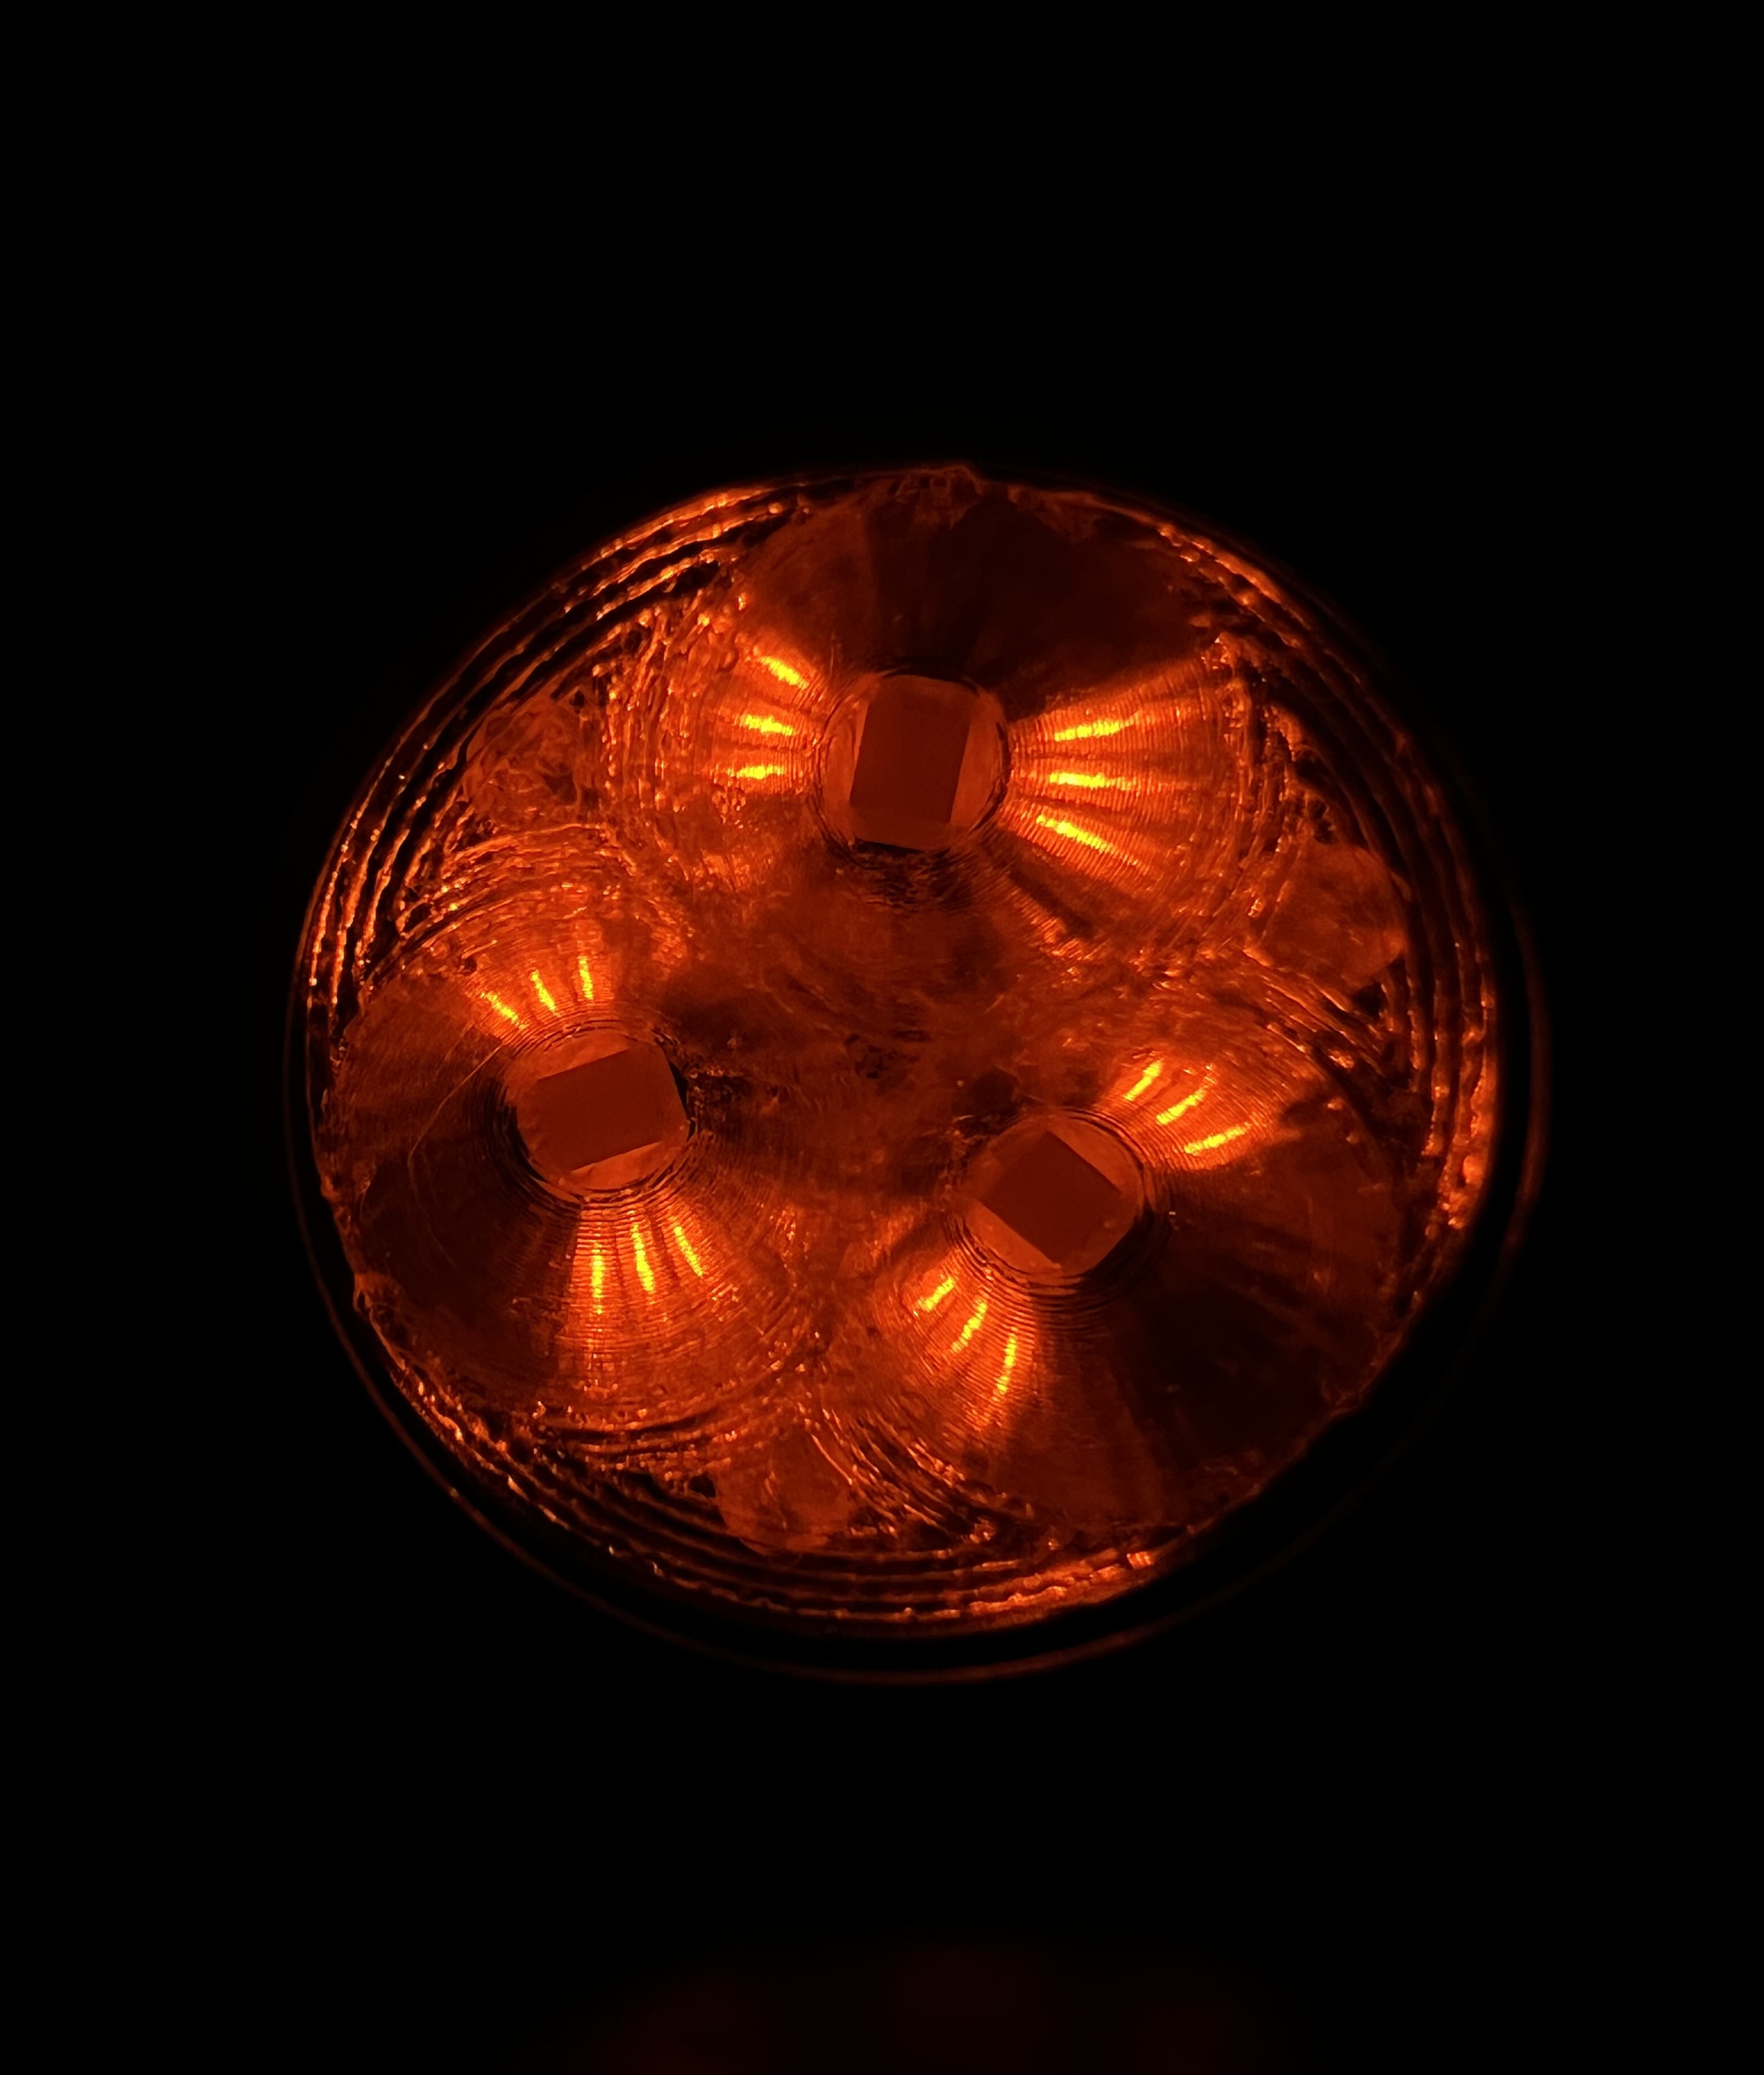
Perfect soldering as expected. I can't help it but my OCD has made me notice that you have the red and blue wires swapped on the aux board, not that it matters in this light.
Also is that moonlight level? The lowest few levels acted weird before you disabled dynamic underclocking. I have been doing some experiments myself, with dynamic unclocking enabled and disabled. I ended up making a new smoother ramp while keeping it enabled.
Btw, what happened to your anduril2 fork? It is no longer visible on GitHub, did you make it private?
zumlin 3 points 3 years ago
That’s the correct order
Stupid me, you are right. I can't tell "R" from "B" from the label on the actual board. I think I swapped all of mine on purpose because I wanted the sequence of colour change to go from outside to inside. Again, not that it matters, because none of mine are RGB lol.
zumlin 3 points 3 years ago
Thank you. I hope so too, and high CRI!
I just saw this posted over at BLF (credits go to koef3 and Simon from Convoy).
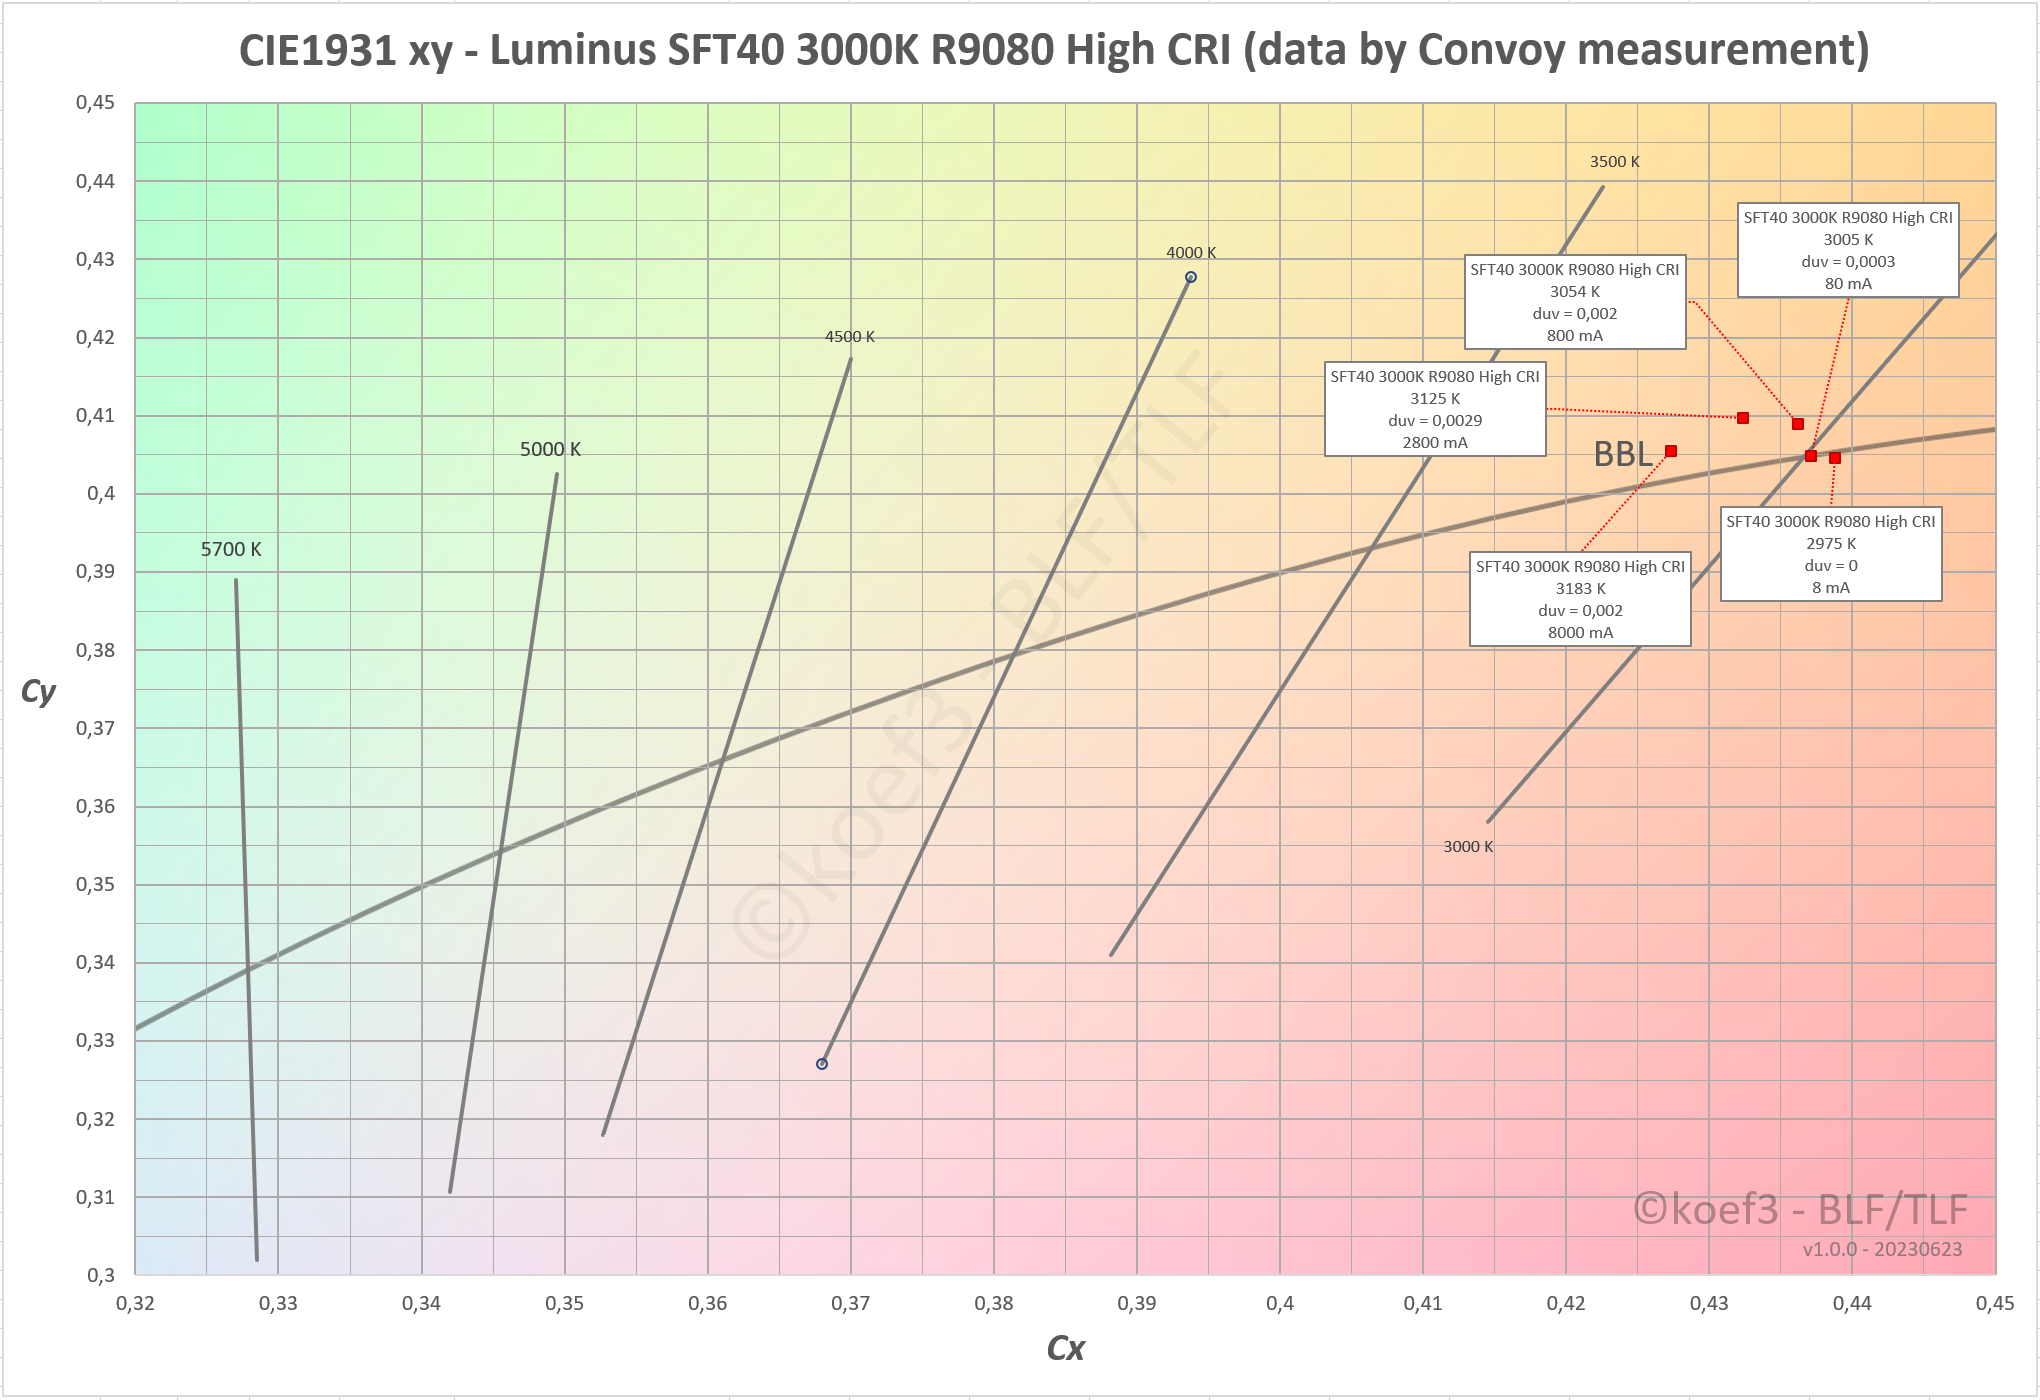
The tint of that sample is at or above BBL. Fingers crossed for some rosy ones when they are actually released. Though I would not use an apheric lens to make a square beam out of one. And the reflector options for 5050 LEDS in the FW1A mean that it won't be as throwy as a CULPM1 in a smooth reflector.
zumlin 3 points 3 years ago
Yes and no. While you can use the aux in all the strobes with the latest firmware, there are still only 2 brightness levels (a hardware limitation), and not all of them work like you would expect.
At the moment:
- You cannot ramp up and down, there is only a high mode
- Candl mode and biker strobe are just constantly on in high mode and the brightness cannot be changed
- Party strobe (low mode) and tactical strobe (high mode) work
- Lightning mode partially works (alternates between off and high mode at random intervals)
zumlin 3 points 3 years ago
@TacGriz I saw that you were looking for a throwy TIR for your FW1A, how about an aspheric lens? My mod is in progress but I think it looks quite promising. From preliminary testing, the beam is nice and round with the round-die emitter. But the emitter is magnified so clearly such that the uneveness in the phosphor can be seen on a white wall. Though it won't be seen when used as a thrower in real life.
thanks for using Leebra!
go to feed...